Navigating the Transition: Moving from RadSystems Studio v8 to v9
This blog will walk you through the transition process, highlighting key considerations, best practices, and steps to ensure a smooth migration from RadSystems Studio v8 to v9.

RadSystems Studio has always been about accelerating development through its powerful no-code and low-code capabilities. By leveraging industry-standard frameworks, it generates professional-grade, complex code automatically, significantly reducing development time. However, as technology evolves, so must the tools we rely on.
With version 9, RadSystems Studio has undergone a major upgrade, incorporating the latest frameworks and features to ensure better performance, security, and future scalability. While we extensively test these upgrades, some changes require moving forward at the cost of backward compatibility. We understand that transitioning projects can be challenging, but there’s good news—RadSystems Studio allows you to run version 8 and version 9 side by side. This means you can continue working on your existing projects while gradually migrating them to the new version at your own pace.
This guide will walk you through the transition process, highlighting key considerations, best practices, and steps to ensure a smooth migration from RadSystems Studio v8 to v9.
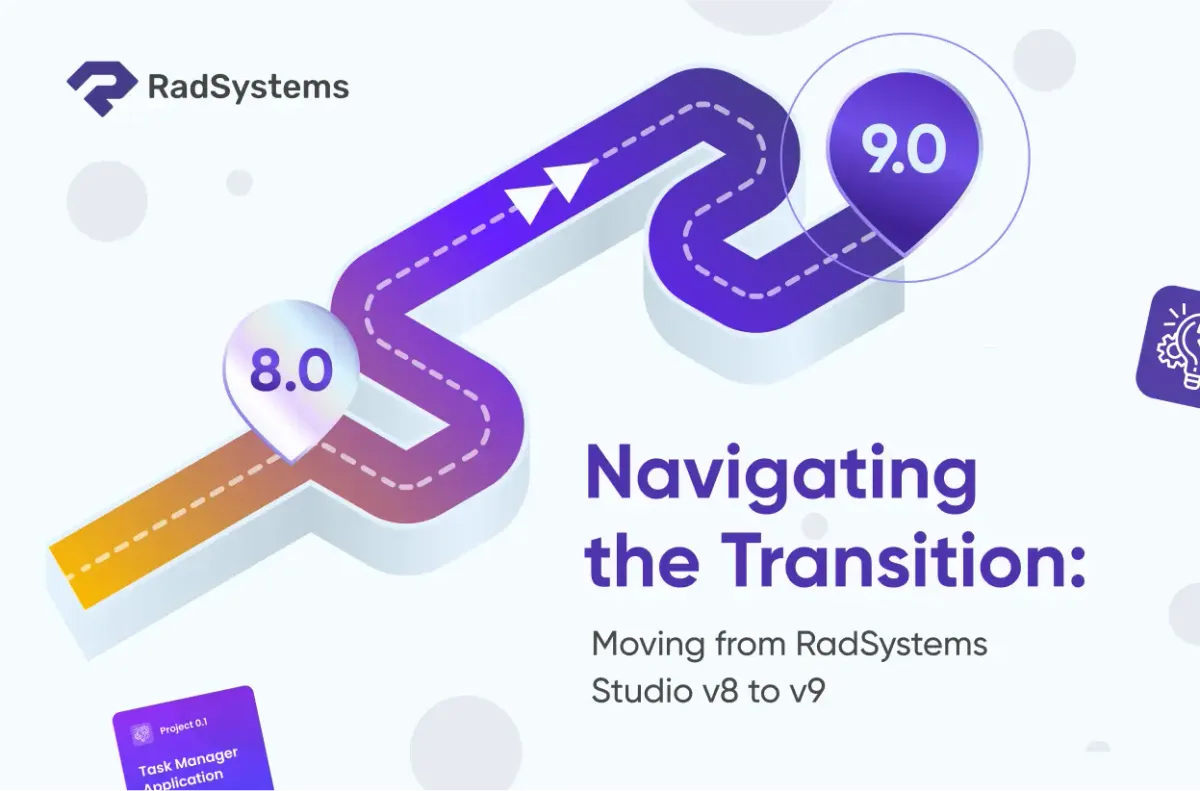
RadSystems Migration Roadmap
Step 1: Preparing Your Project in RadSystems Studio v9
Before diving into the migration, it's essential to set up a fresh environment for your project in RadSystems Studio v9. Follow these steps to ensure a smooth start:
- Create a New Workspace – Begin by setting up a dedicated empty folder for your v9 project. This keeps your migration structured and avoids conflicts with your existing v8 files.
- Launch RadSystems Studio v9 – Open the new version of RadSystems Studio to start the transition process.
- Set Up a New Project – Create a new project using the same framework stack and database as your v8 project. Consistency here is key to ensuring compatibility.
- Define the Project Path – Select the newly created empty folder as your project path. This will be the location where your v9 project files and published application will be saved.
- Save and Publish Immediately – Save your new v9 project and publish it right away. This completes the initial project setup and ensures that the necessary files and structure are in place.
Keep RadSystems Studio v9 open—do not close it yet. You'll need it for the next steps in the migration process.
Step 2: Preparing Your v8 Project for Migration
Before making any changes, let’s get your RadSystems Studio v8 project ready for migration:
- Open RadSystems Studio v8 – Launch the older version of RadSystems Studio.
- Load Your Existing Project – Open your current v8 project, ensuring you have access to all settings and configurations.
- ⚠️ Do NOT Publish the Project – Avoid publishing your v8 project at this stage, as it may introduce unwanted changes.
Keep RadSystems Studio v8 open side-by-side with v9. This will serve as your reference throughout the migration process.
Now, switch to your v9 project. It’s time to start the actual migration!
Step 3: Restoring the Initial Look & Feel
Now that your v9 project is set up, let’s ensure it visually matches your v8 project. Follow these steps to replicate the theme, icons, and menu structure:
- Match the Theme – Navigate to Project Theme in v9 and select the same theme used in your v8 project. This keeps the UI consistent.
- Set Up App Icons – Go to App Icons and update the icon and logo images to match those from v8.
- Recreate the Menu Structure – Open Project Menu and configure it exactly as in v8 to maintain the familiar navigation.
- Transfer Custom Code –
- Open your minimized RadSystems Studio v8 window.
- Click on Custom JS and Custom CSS at the top.
- If you've added any custom JavaScript or CSS in v8, copy the code.
- Switch back to RadSystems Studio v9 and paste the code into the respective Custom JS and Custom CSS editors.
With the UI in place, we’re now ready to move on to the next step!
Step 4: Restoring Your Dashboard
With the core structure in place, it's time to bring back your dashboard. Follow these steps to recreate it in RadSystems Studio v9:
- Open the Dashboard in v8
- Go to your RadSystems Studio v8 window.
- Click the Page Design tab.
- Select Home from the pages drop-down.
- Open the Dashboard in v9
- Switch to RadSystems Studio v9 and navigate to the Page Design tab.
- Select Home from the pages drop-down.
- Check for Header Modifications
- In v8, review the header section settings (e.g., container class, page header text).
- If you made changes, apply the same settings in v9. Otherwise, proceed to the next step.
- Recreate Dashboard Components
- In v8, review the components added to the page. Typically, this includes stats, charts, and custom views.
- Recreate each component in v9 by following these steps:
- First, add sections to match the v8 layout.
- Next, create columns with the same classes applied in v8.
- Then, drag and drop components into their respective columns.
- Finally, configure each component by selecting the same query string from v8 and adjusting settings such as CSS classes, title text, and color values.
With your dashboard restored, you're now one step closer to completing the migration!
Step 5: Configuring List, View, Add, and Edit Pages
With the dashboard in place, it's time to migrate the core functionality—your data pages. Since each table has multiple associated pages, we’ll take a structured approach:
📌 Important:
- Work on one table at a time.
- Configure one page at a time for each table.
Step 5.1: Setting Up the List Page
The List page is where users view records, so let’s ensure a smooth transition:
- Select the Table
- In RadSystems Studio v9, select the table from the list.
- Click on List in the pages section.
- Match List Page Properties
- In v8, check if Ajax Page is enabled. If yes, enable it in v9.
- Set the same page template in v9 as in v8.
- Check Master-Detail Display settings and apply them in v9.
- Review the Join Tables setting in v8. If you’ve joined tables, replicate it in v9. (Fields from joined tables will be handled later—just leave them as they are for now.)
- Copy the "Where" clause of your query from v8 and paste it into v9.
- Set Order By and Record Limits as per v8.
- Configure Additional Settings
- In v9, Export and Import settings are enabled by default. If they weren’t enabled in v8, disable them.
- Review Action Buttons—they typically remain unchanged, but verify and adjust if necessary.
- Configure List page fields by checking each one in v8 and applying the same settings in v9.
- Handle Custom Columns & Page Components
- If you've added custom columns in v8, copy the code, add a custom column in v9, and paste the code.
- Click Design for the List page.
- Review the header section in v8—check for changes in the header text, "Add New" button, or container class. Apply the same in v9.
- If v8 has page components (e.g., Charts, Stats), recreate them in v9:
- First, create sections and columns.
- Then, drag and drop components into their respective positions.
- Transfer Custom Code
- In v8, check if Page JS and Page CSS contain any custom code.
- Copy the code and paste it into Page JS and Page CSS in v9.
Next Steps: Once the List page is fully set up, we’ll move on to the View, Add, and Edit pages. Stay tuned!
Step 5.2: Configuring the View Page
Now that the List page is ready, let’s move on to the View page, which displays detailed information about individual records.
📌 Follow the same approach as the List page:
- Open RadSystems Studio v8 and v9 side by side.
- Take one table at a time and configure its View page step by step.
Key Properties to Check & Migrate
1️⃣ Ensure Core Settings Match
- Check if Ajax Page is enabled in v8; if so, enable it in v9.
- Set the same Page Template as in v8.
- Verify and apply the Master-Detail Display settings.
- If Join Tables are used in v8, replicate the same in v9.
2️⃣ Recreate Page Structure in v9
- Click Design for the View page.
- Start with the header section—ensure the text and container classes match v8.
- If you've added page components in v8, such as sub-page components, recreate them one by one in v9.
- For each sub-page component, check and set the Form Field Binding property accordingly.
Final Steps
✅ Save your project in v9.
✅ Publish it and test the View page in the browser.
✅ Compare with v8 to ensure all settings and components are correctly replicated.
🔹 Next up: We’ll move on to the Add and Edit pages. Stay tuned!
Step 5.3: Configuring the Add and Edit Pages
With the List and View pages in place, it’s time to tackle the Add and Edit pages. These two pages work like twins in RadSystems Studio—any settings applied to the Add page will automatically carry over to the Edit page, making the migration process much easier!
Key Steps to Migrate Add & Edit Pages
1️⃣ Verify Field Selections
- Open the Add page in v8 and v9 side by side.
- Ensure all necessary fields have their tick-marks checked in v9.
2️⃣ Configure Field Properties
- Go through each field and match the properties with v8.
- Pay special attention to:
✔ Required (Ensure essential fields are marked as required)
✔ Check Duplicates (If enabled in v8, enable it in v9)
✔ Validation Format (Ensure validation rules match) - Most fields require minimal adjustments, except for:
- SELECT fields (Ensure correct data binding)
- DATE fields (Verify format and picker settings)
Final Steps
✅ Save your project in v9.
✅ Publish it and test the Add/Edit functionality.
✅ Compare it with your v8 project to ensure everything works as expected.
Finalizing the Migration for All Tables
Now that you've successfully migrated one table, it's time to repeat the process for all other tables in your application.
How to Proceed Efficiently?
- One Table at a Time – Focus on migrating one table completely before moving to the next.
- One Page at a Time – For each table, configure the List, View, Add, and Edit pages sequentially.
- Save & Publish Frequently – After completing each page, save your work and publish the project to test if everything is functioning correctly.
Don’t Forget the Custom Code
Before moving on, check for any custom code added in v8 (e.g., Custom JS, CSS, or Page-Specific Scripts).
If present, copy the code from v8 and paste it into v9 to retain the same functionality.
With this structured approach, your transition to RadSystems Studio v9 will be smooth and hassle-free
Finalizing Authentication & User Roles
If everything in your project is working well, it's time to configure Authentication in v9.
Recreating Authentication in v9
Since nothing has changed in the authentication interface, follow these steps:
- Set the Fields – Configure authentication fields exactly as in v8.
- Username & Email Login Settings – Match the "Login with Username and Email" setting from v8 to v9.
- Enable 2FA if Used in v8 – If you had Two-Factor Authentication (2FA) enabled in v8, enable it in v9 and copy the OTP sending code.
Once done, click OK, let RadSystems Studio v9 process the changes, then save & publish the project.
Testing Authentication
Since you are using the same database, your existing user accounts should remain valid.
- Open your web application in the browser.
- Log in with the same credentials used in v8.
- Verify that authentication works as expected.
Configuring User Roles & Permissions
After confirming that authentication works, move on to User Roles & Permissions:
- Open User Roles and Permissions in v8.
- Recreate the same Roles & Permissions in v9.
- Click OK and allow RadSystems Studio v9 to process the changes.
- Save & Publish the project.
Testing User Role Restrictions
- Log in with different user roles and verify page access.
- Check the Navigation Bar – ensure that menu items restricted for certain roles are correctly hidden.
Once everything works, your migration of Authentication settings is complete.
Finalizing Your RadSystems Studio v9 Migration
Handling User ID Fields for Audit Purposes
Now that authentication is enabled, ensure that any user_id fields recording the creator of a record are properly configured:
- Open Add & Edit pages for each table.
- Identify fields that store the user_id of the logged-in user.
- Set these fields to hidden and configure the default value to the currently logged-in user's user_id.
Next, verify List & View pages:
- Configure the visibility of these user_id fields based on user roles.
Audit Trail & Custom Endpoints
If Audit Trail was enabled in v8,
- Recreate the same Audit Trail settings in v9.
Next, check for Custom Endpoints:
- Open v8 and review any Custom API Endpoints you configured.
- Copy the code and recreate these Custom Endpoints in v9.
Final Steps & Next Actions
Save & publish your project.
Verify everything is working.
If you need any help during the migration process, feel free to contact us for assistance. Ready to explore the new features? Download RadSystems Studio v9] and get started. Want to know what’s new? See the change log for all the latest updates and improvements.


